Create and manage groups
Create and edit groups, place members, delegate group administration, and move memberships in bulk.
Updated: September 2026
For Group mode with secondary memberships ON, start with the current operating guide. Primary/secondary memberships and organization account deactivation are separate operations. The earlier screens below can differ depending on this setting.
This guide covers personal/group modes. Screenshots use the real Korean UI with fictional people and amounts. No account changes or emails were executed for the captures. Click an image to enlarge it.
Distinguish groups from an enterprise organization chart
This guide covers Member management → Groups in personal/group modes. For companies and departments, see Enterprise organization management. Switching operating modes changes credit behavior; it is not a display filter. Review unassigned members and existing limits first.
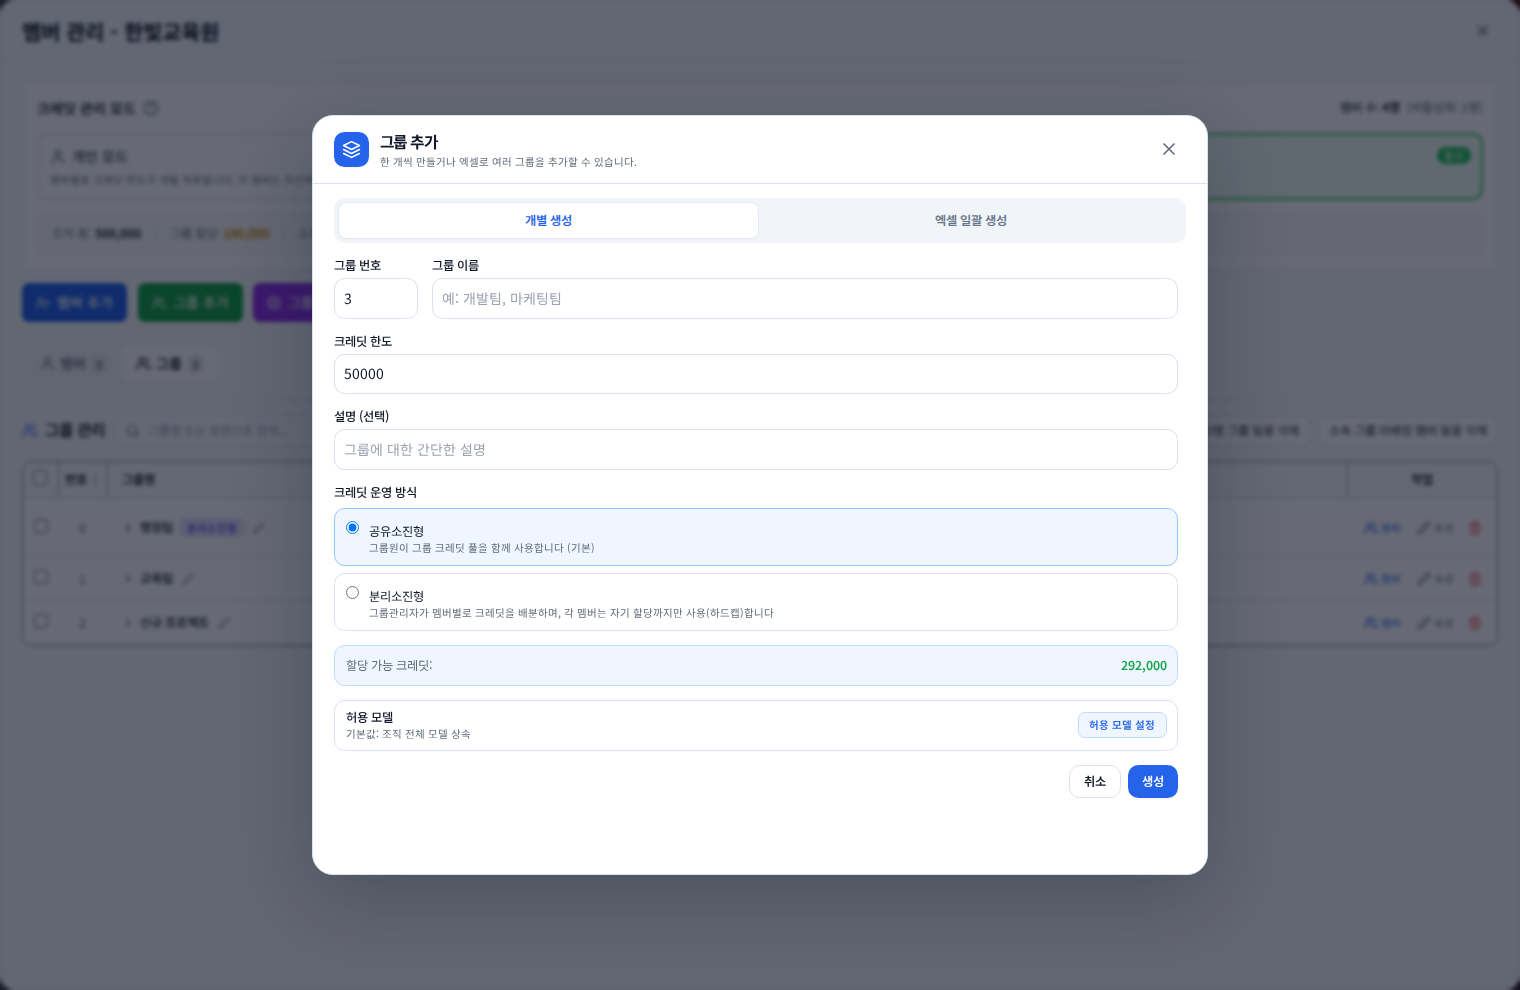
Create one group
- Click Add group and enter its number, name, credit limit and description.
- Shared spending uses a common pool; isolated spending also needs member allocations.
- Review allowed models and protection.
- Create the group, verify its row, then assign members.
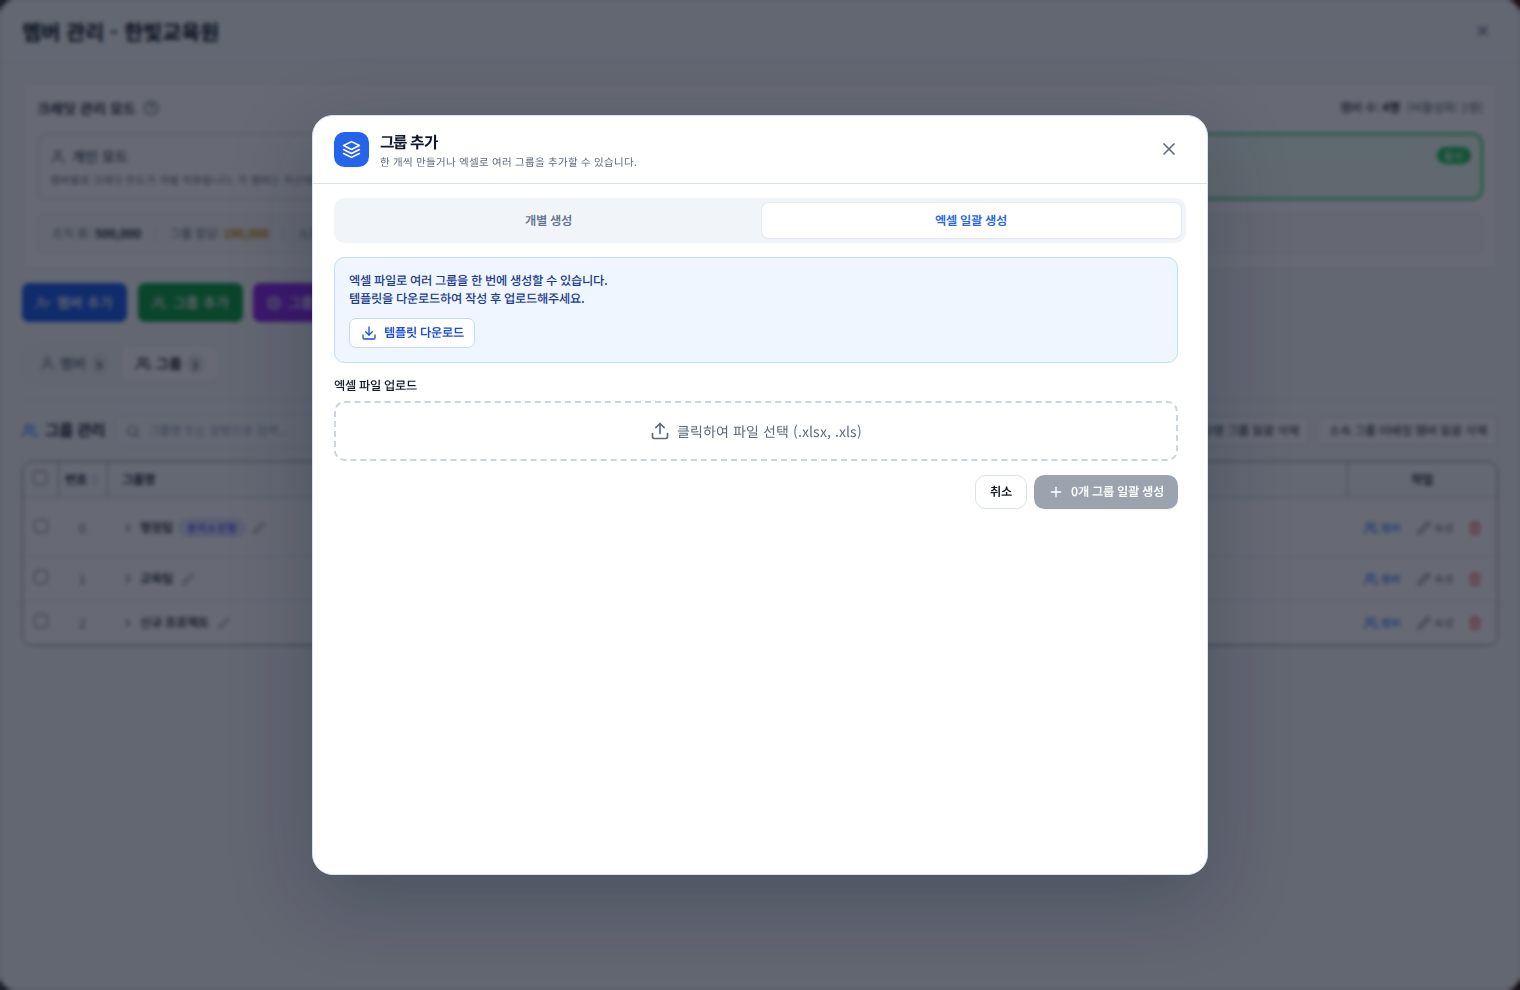
Create groups with Excel
Open Add group → Excel bulk creation and download the current template. Use unique names and correct preview errors or duplicates. Creating groups does not register people; follow Add members afterwards.
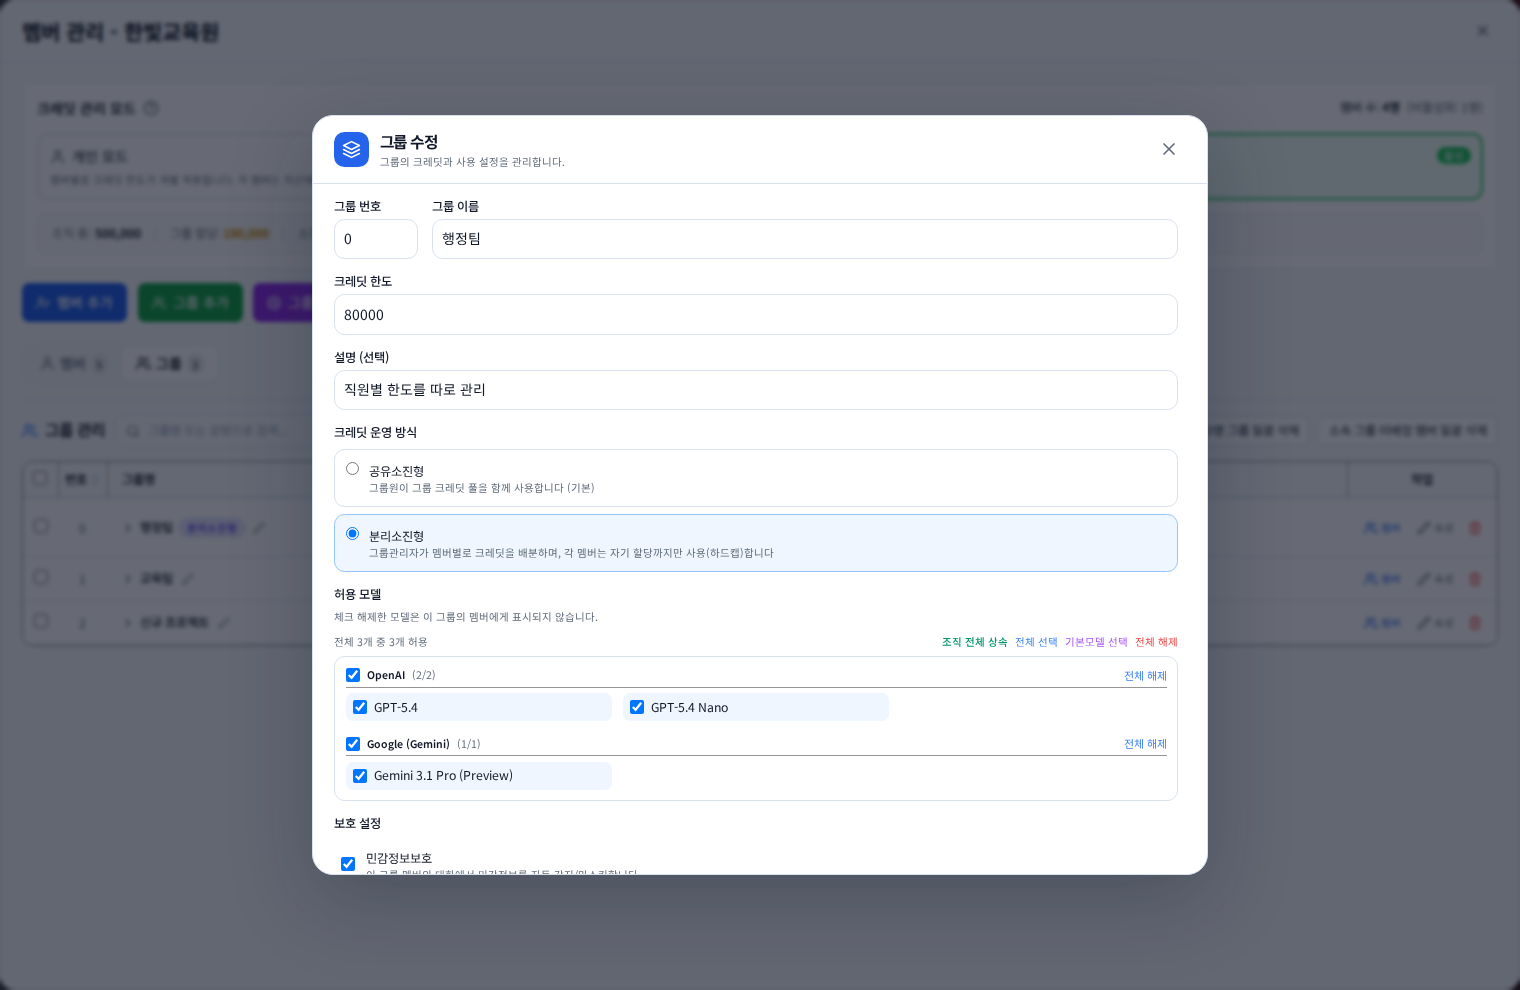
Edit an existing group
Open Properties to change its name, description, limit, policy, models or protection. Limits must respect consumption and the organization budget. Read the effect on member allocations before confirming a spending-policy change. Reopen the row to verify saved settings.
Manage members and group administrators
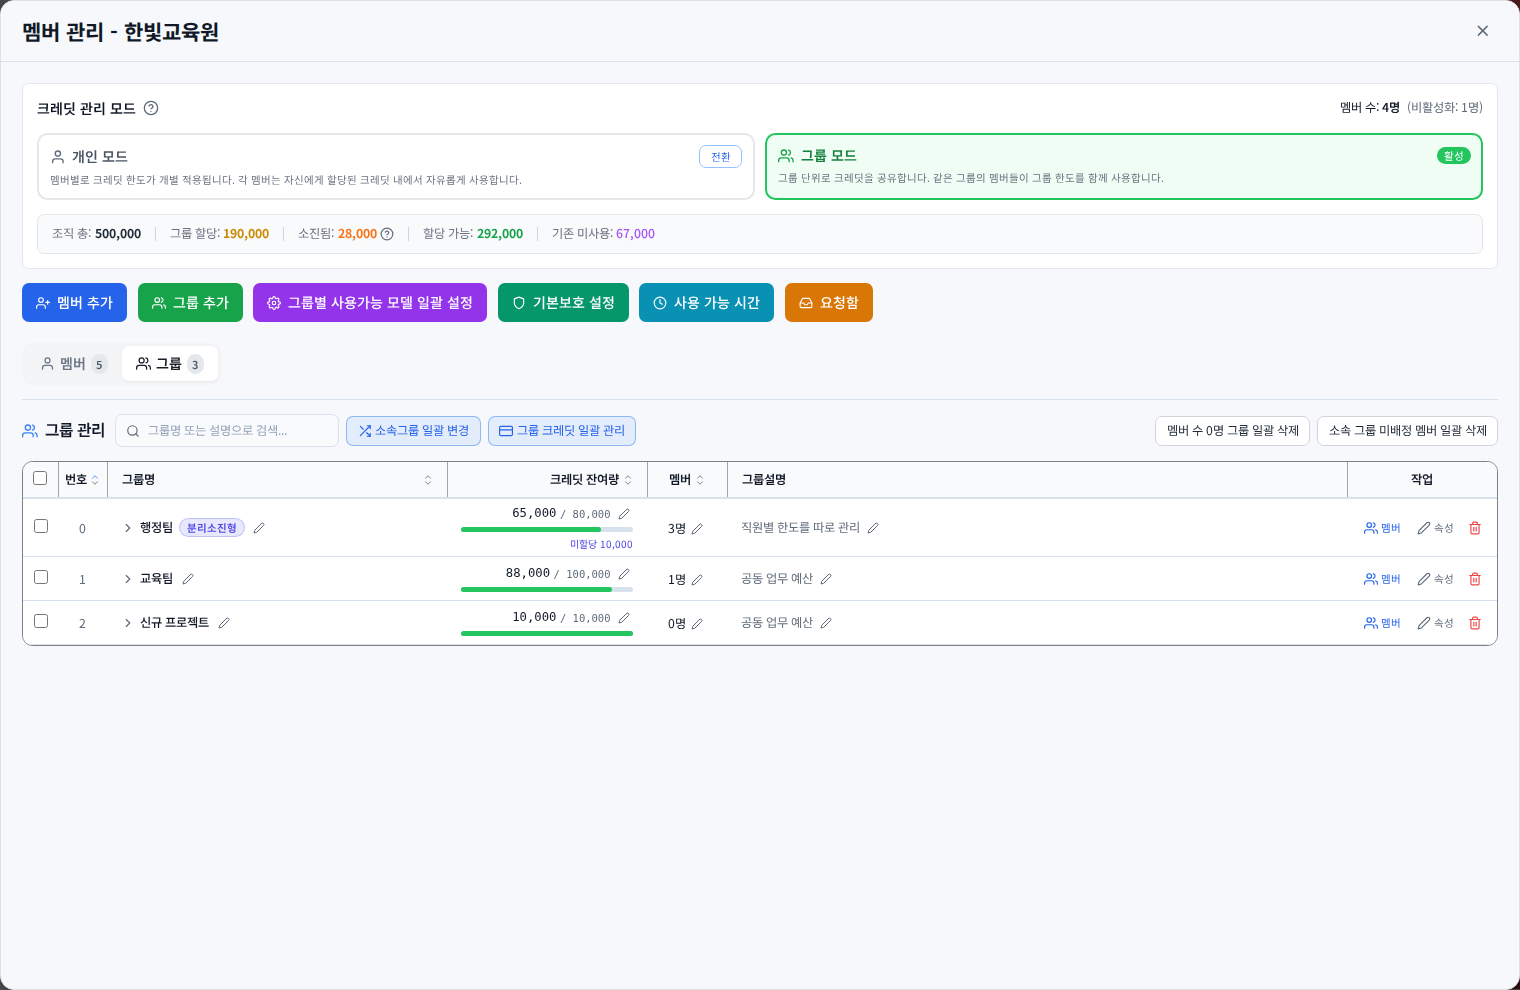
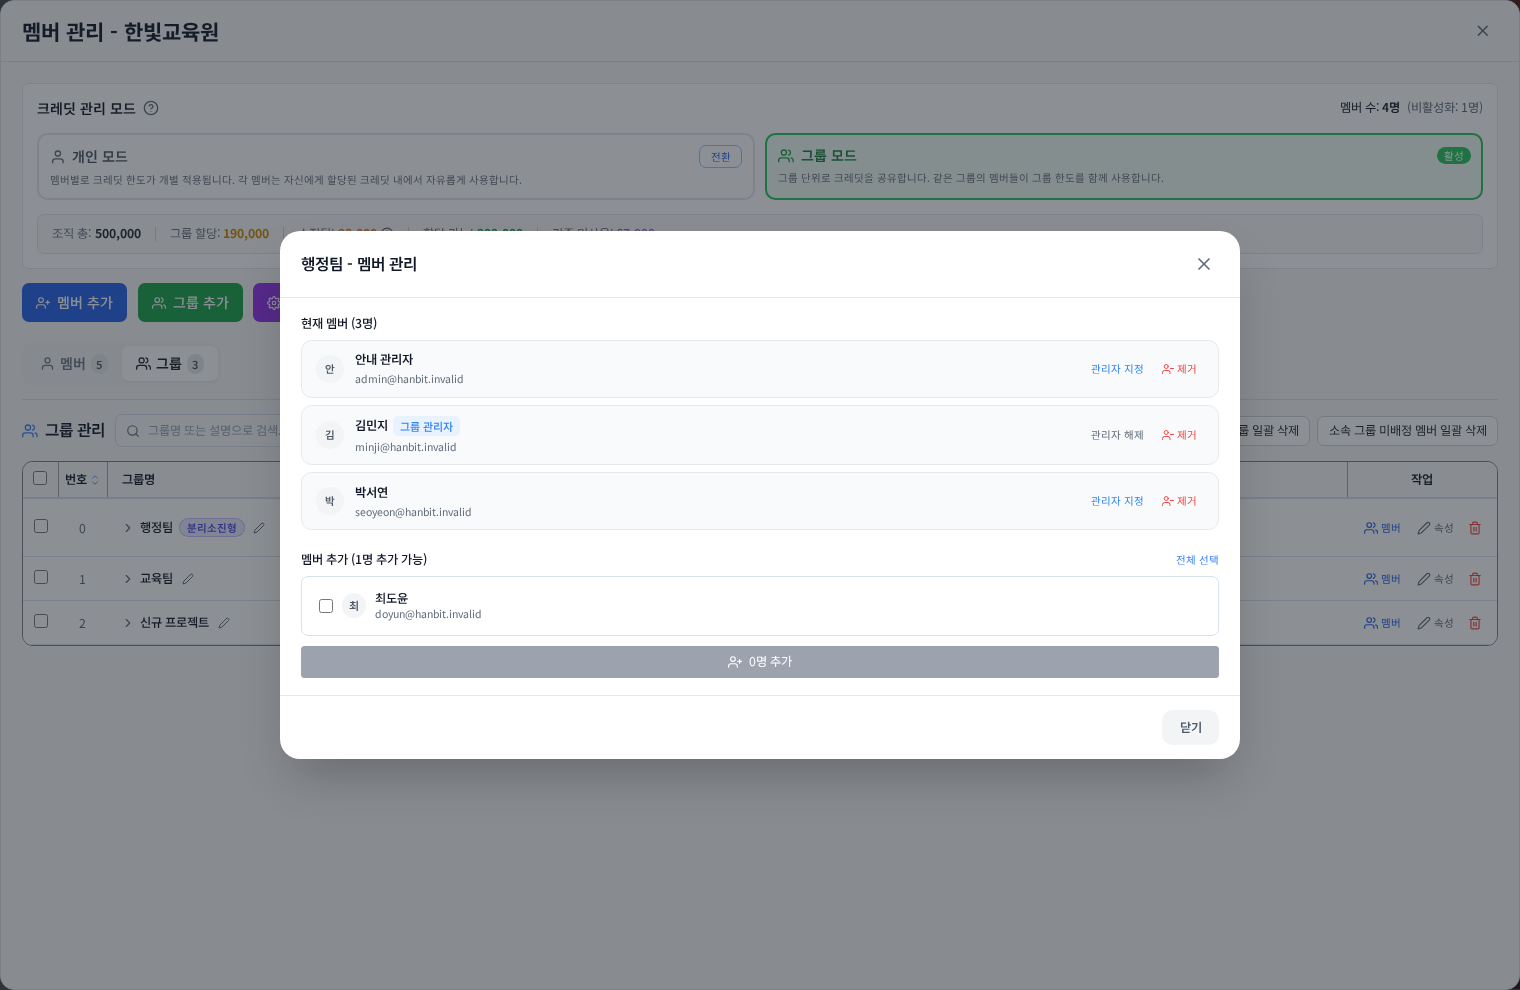
Open Members on a group row to check people and administrators. Granting or removing administrator status changes management access for that group. Additional memberships appear only where enabled. Do not replace the primary group as a workaround for a missing secondary-membership feature.
Move memberships with Excel
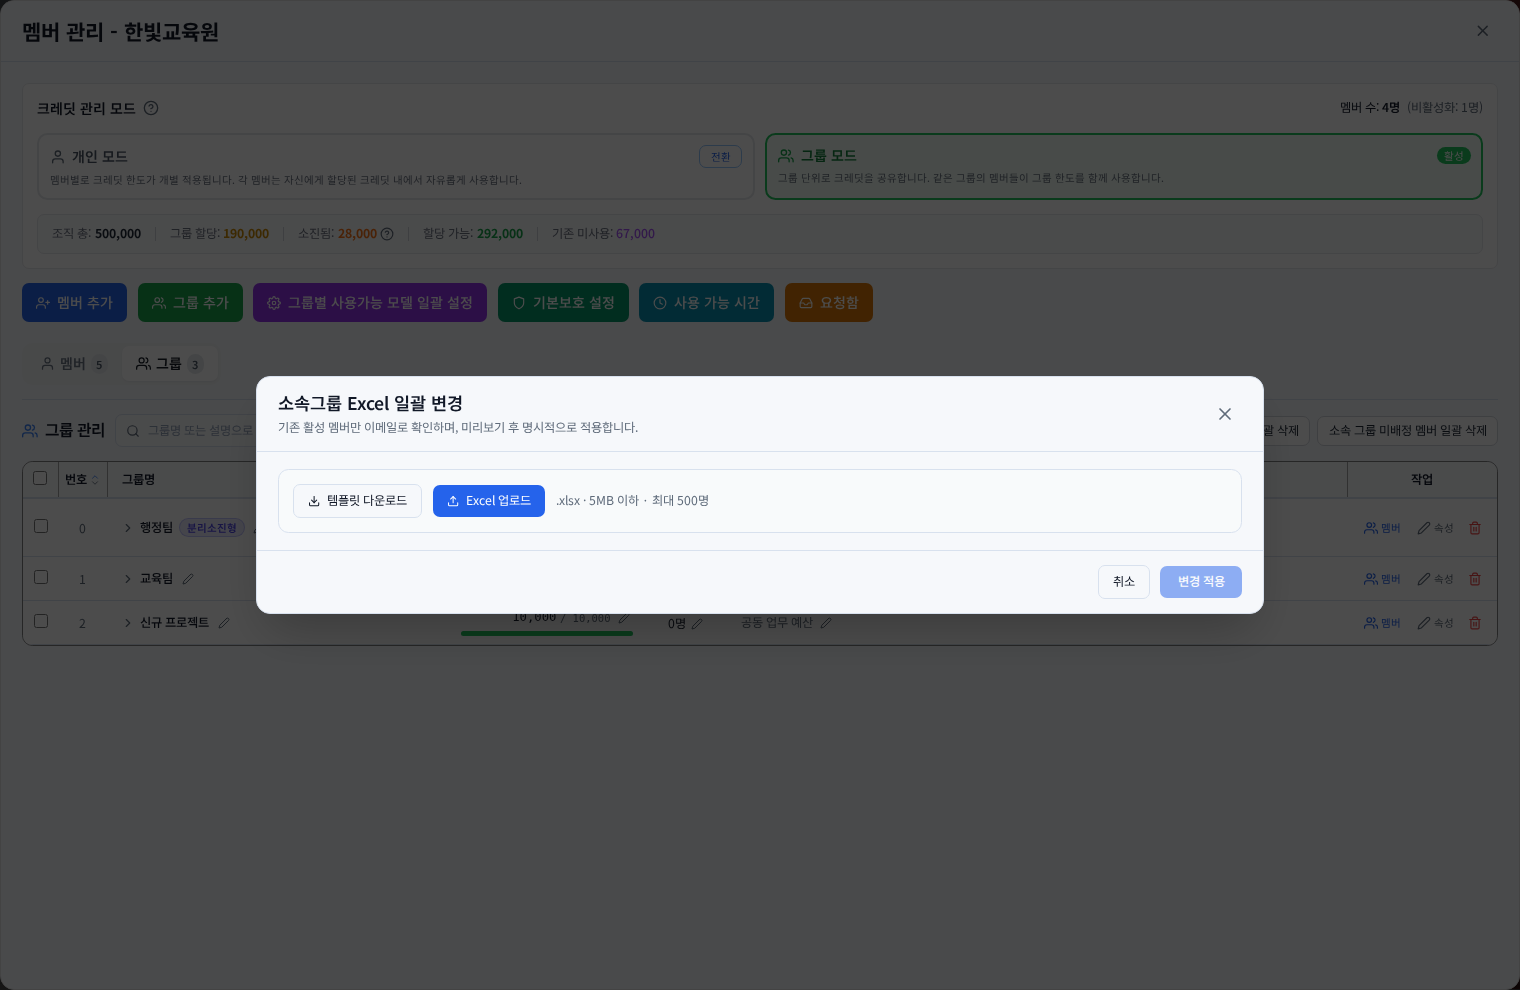
Use Bulk group reassignment and its template. Match email addresses and destination groups, then review current/destination groups, duplicates and missing groups in the preview. After moving to an isolated group, check member allocations as well as the group balance.
Clean up empty groups and unassigned members
Delete empty groups and Delete members without a group operate on different targets. The second action deactivates the targeted active organization memberships; it does not just remove group containers. Administrators are excluded. Review the confirmation and assign overlooked employees before cleanup. Historical consumption does not become new credit when a group is removed.
Was this answer helpful?